

Solar Battery Installation Process – Step by Step
Adding a battery to your solar system is simpler than most homeowners expect.
Step 1: Evaluate Your Existing Solar System
Before installation begins, we review:
Inverter type
Electrical panel configuration
Solar production history
Import vs export balance
Rate plan structure
Backup goals
This determines:
Battery compatibility
Required equipment
Optimal battery size
Whether an inverter upgrade is needed
Proper design determines performance.
No installation begins without a full evaluation.

Step 2: Custom Battery Design
Based on your goals, we design a system that may include:
Battery storage capacity sizing
Hybrid or storage-compatible inverter
Critical loads panel (if needed)
Whole-home or partial backup configuration
We review:
Expected savings
Peak rate reduction
Backup duration estimates
Installation timeline
No surprises. No guesswork.

Step 3: Permitting & Interconnection
Battery systems in Texas require:
Electrical permits
Utility notification
Code compliance review
We handle:
Permit submission
Utility coordination
Inspection scheduling
This ensures your system meets local and state electrical standards.

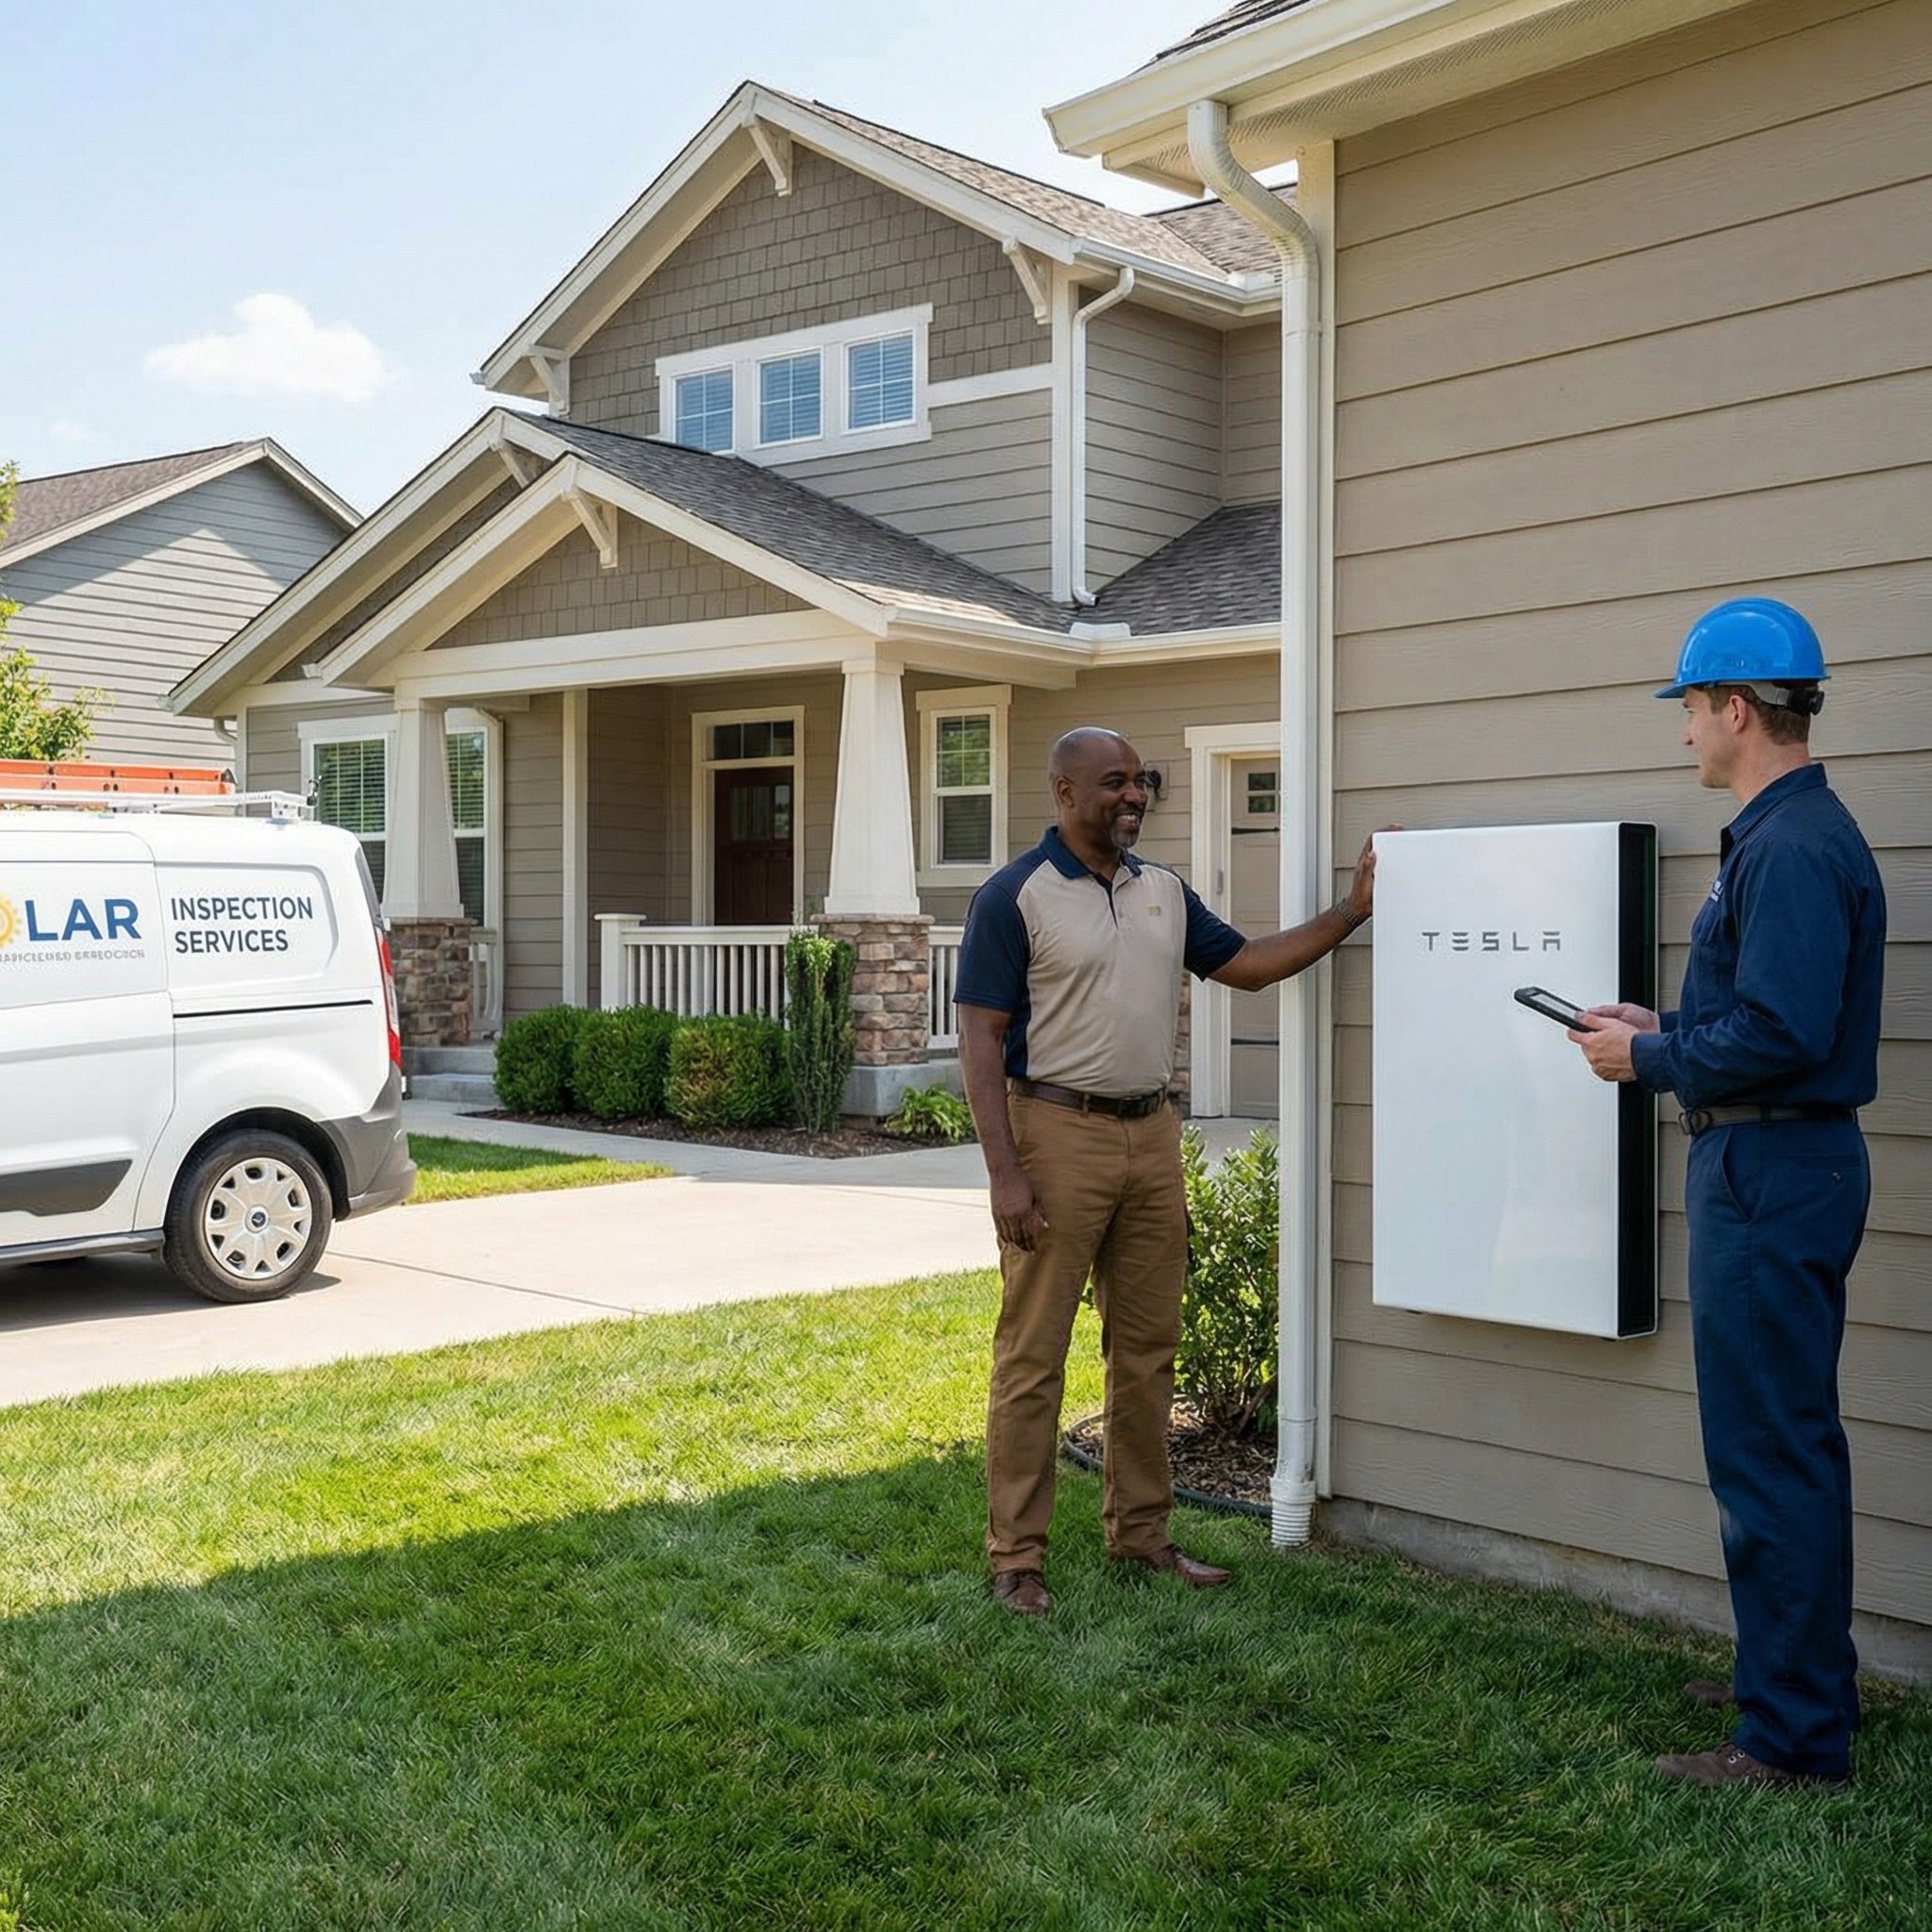
Step 4: Professional Installation
Most battery installations take 1–2 days, depending on configuration.
Installation includes:
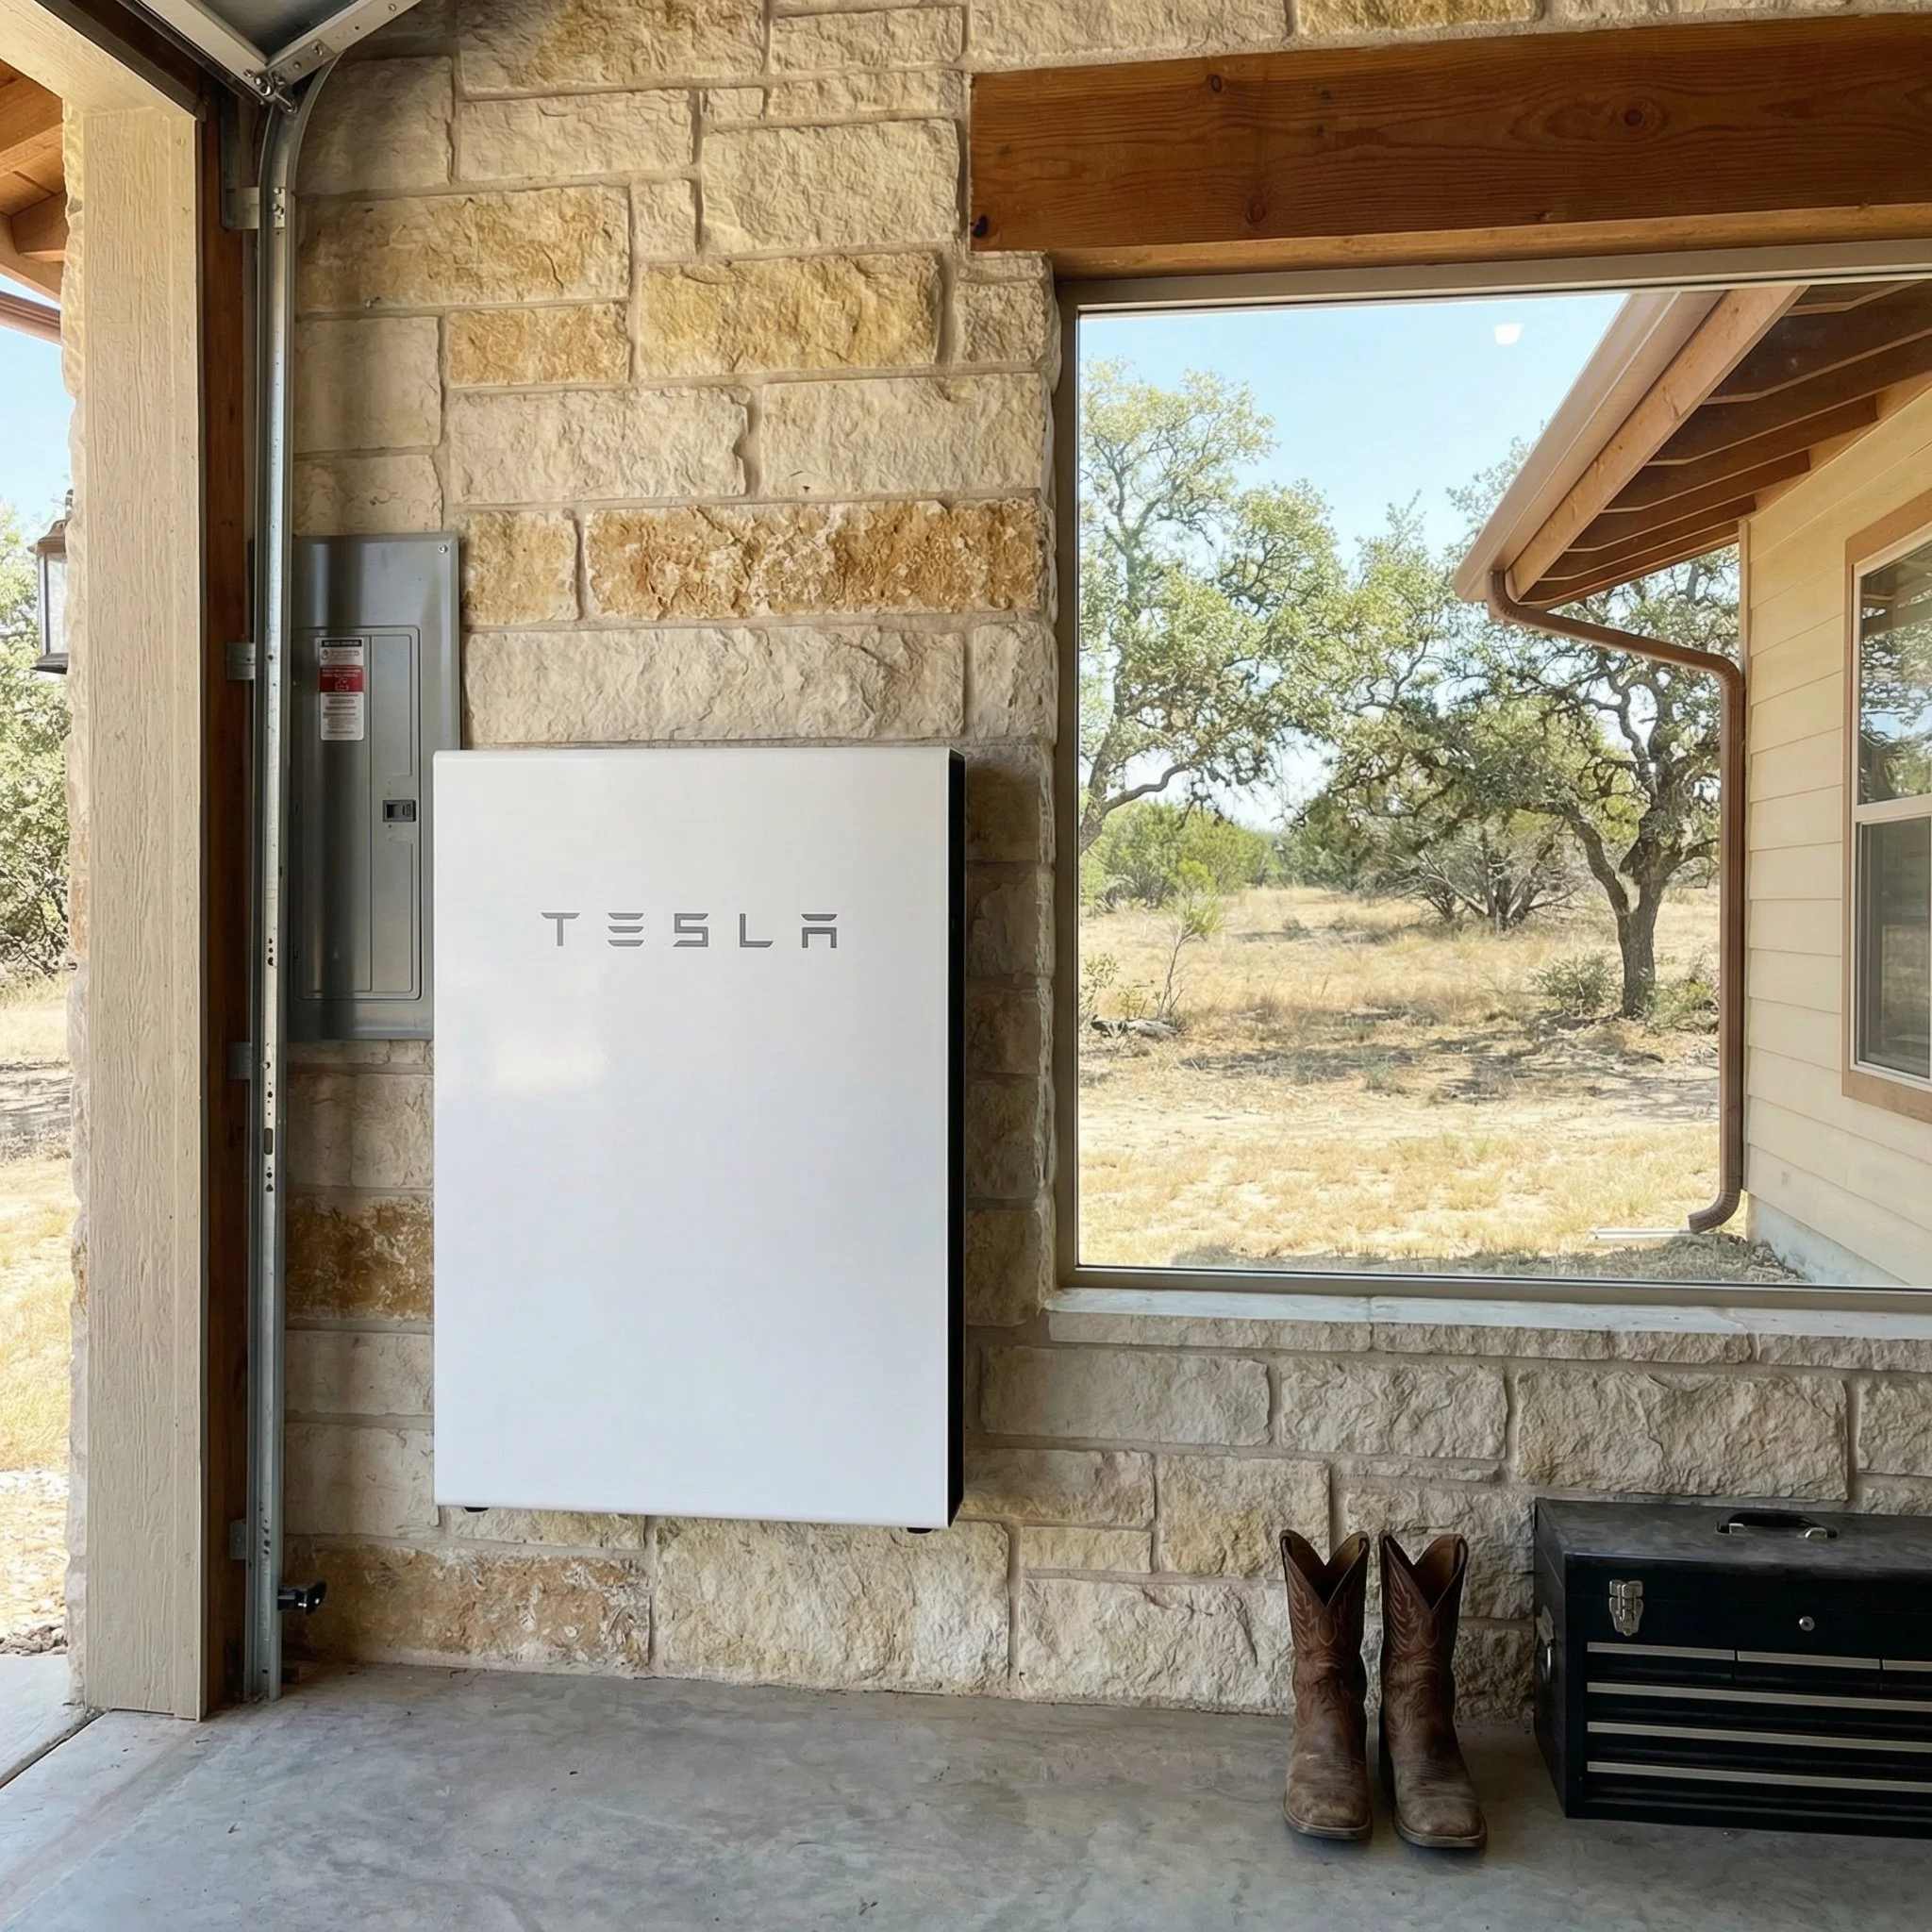
Mounting battery unit
Electrical wiring
Breaker integration
Load configuration
Inverter programming
System labeling
If backup is included:
Critical loads panel setup
Automatic transfer configuration
Power may be temporarily shut off during installation.
After installation, the system is fully tested.
Clean installation. Code-compliant wiring. Full system verification.
Step 5: Inspection & Final Commissioning
After installation:
Local inspection approval (if required)
Utility acknowledgment
System activation
Monitoring configuration
We confirm:
Proper charging and discharging
Backup transition testing
Production integration
App setup and homeowner training
You will understand how your system operates before we leave.

What to Expect After Battery Installation
After activation:
Daytime excess solar charges your battery
Evening loads draw from storage
Grid imports decrease
Backup activates automatically during outages
You may notice:
Lower peak-rate exposure
Reduced export credits
More stable billing patterns
The system operates automatically.
No daily adjustments required.
Typical Timeline in Texas
Evaluation: 1–3 days
Design & approval: 3–7 days
Permitting: varies by city
Installation: 1–2 days
Inspection & activation: typically within 1–2 weeks
Total process typically ranges from 2–4 weeks, depending on jurisdiction.
-
Most installations are completed in 1–2 days.
-
Yes, briefly during electrical integration.
-
Some systems require inverter upgrades for battery compatibility.
-
Most modern systems can be adapted.
-
Billing impact depends on your rate structure and usage pattern.