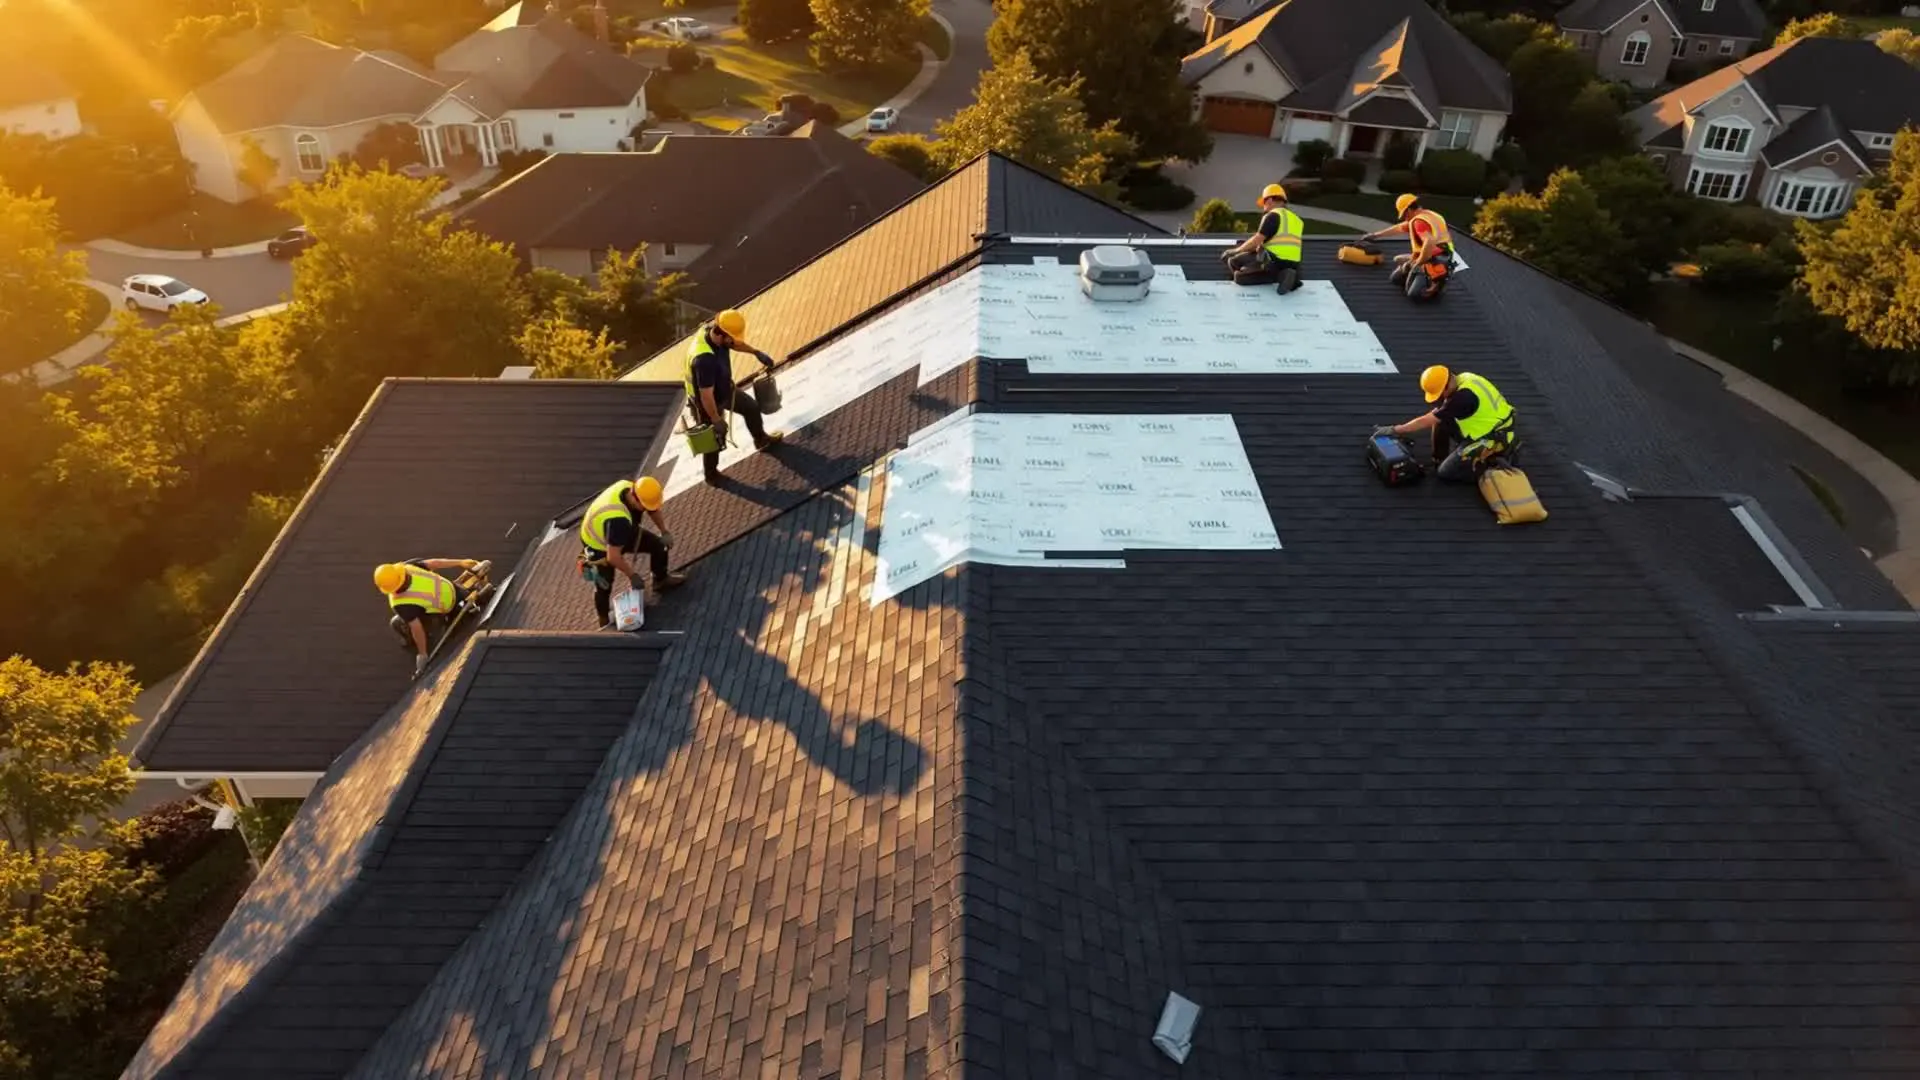
At The Light Group USA, roof and system protection has become one of our most demanding service categories. Whether a homeowner is getting a new roof, filing a storm claim, or dealing with malfunctioning components, proper removal must be done with precision and climate-specific technique.
Most damage we see during service calls didn’t happen during installation.
It happened during removal—usually by roofers, handymen, or unlicensed crews who don’t understand solar engineering.
This guide explains exactly how we protect your roof and shingles at every stage of the removal process, and why choosing the right service team makes the difference between a safe reinstall… and long-term damage.
Understanding How Solar Panels Attach to Your Roof
Before explaining our process, it helps to understand what’s under your panels.
A typical system includes:
- Mounting hardware bolted into structural rafters
- Flashing and waterproofing layers designed for weather sealing
- Rails that distribute system weight
- Wiring and junction boxes routed under shingles
- Attachments that must remain watertight despite extreme temperatures
A single mistake during removal—pulling too hard on mounts, tearing the shingle tab, cracking underlayment, bending flashing—can open a pathway for leaks that may not show up until the next storm.
This is why homeowners who get panels installed through residential solar panel installation
trust us to protect the home structure long-term.
Why Roofers Should Never Remove Solar Panels
We see it constantly in Texas:
A roofer offers to “take the panels off real quick before the reroof.”
But roofing companies are not trained in:
- Solar wiring safety
- Mount disengagement
- Flashing preservation
- Electrical codes
- System recommissioning
So the result is predictable:
- Cracked shingles
- Torn underlayment
- Bent mounts
- Broken wiring
- Unsealed penetrations
This is why we handle R&R not only for homeowners, but also for commercial properties that use commercial solar installation
Our Roof & Shingle Protection Process — Step By Step
Our process was engineered specifically for Texas roofs and Texas weather patterns.
Every step is designed to prevent damage during both removal and reinstallation.
Step 1: Pre-Removal Roof Inspection
Before touching any hardware, our technicians inspect:
- Shingle condition
- Soft spots
- Flashing integrity
- Existing water intrusion
- Attachment points
- Underlayment sensitivity
If an area is brittle from heat or moisture, we adjust the removal method to avoid tearing.
This is where service expertise matters—especially compared to untrained laborers.
We document everything as part of our residential solar repair and maintenance services
( /solar-repair-maintenance/).
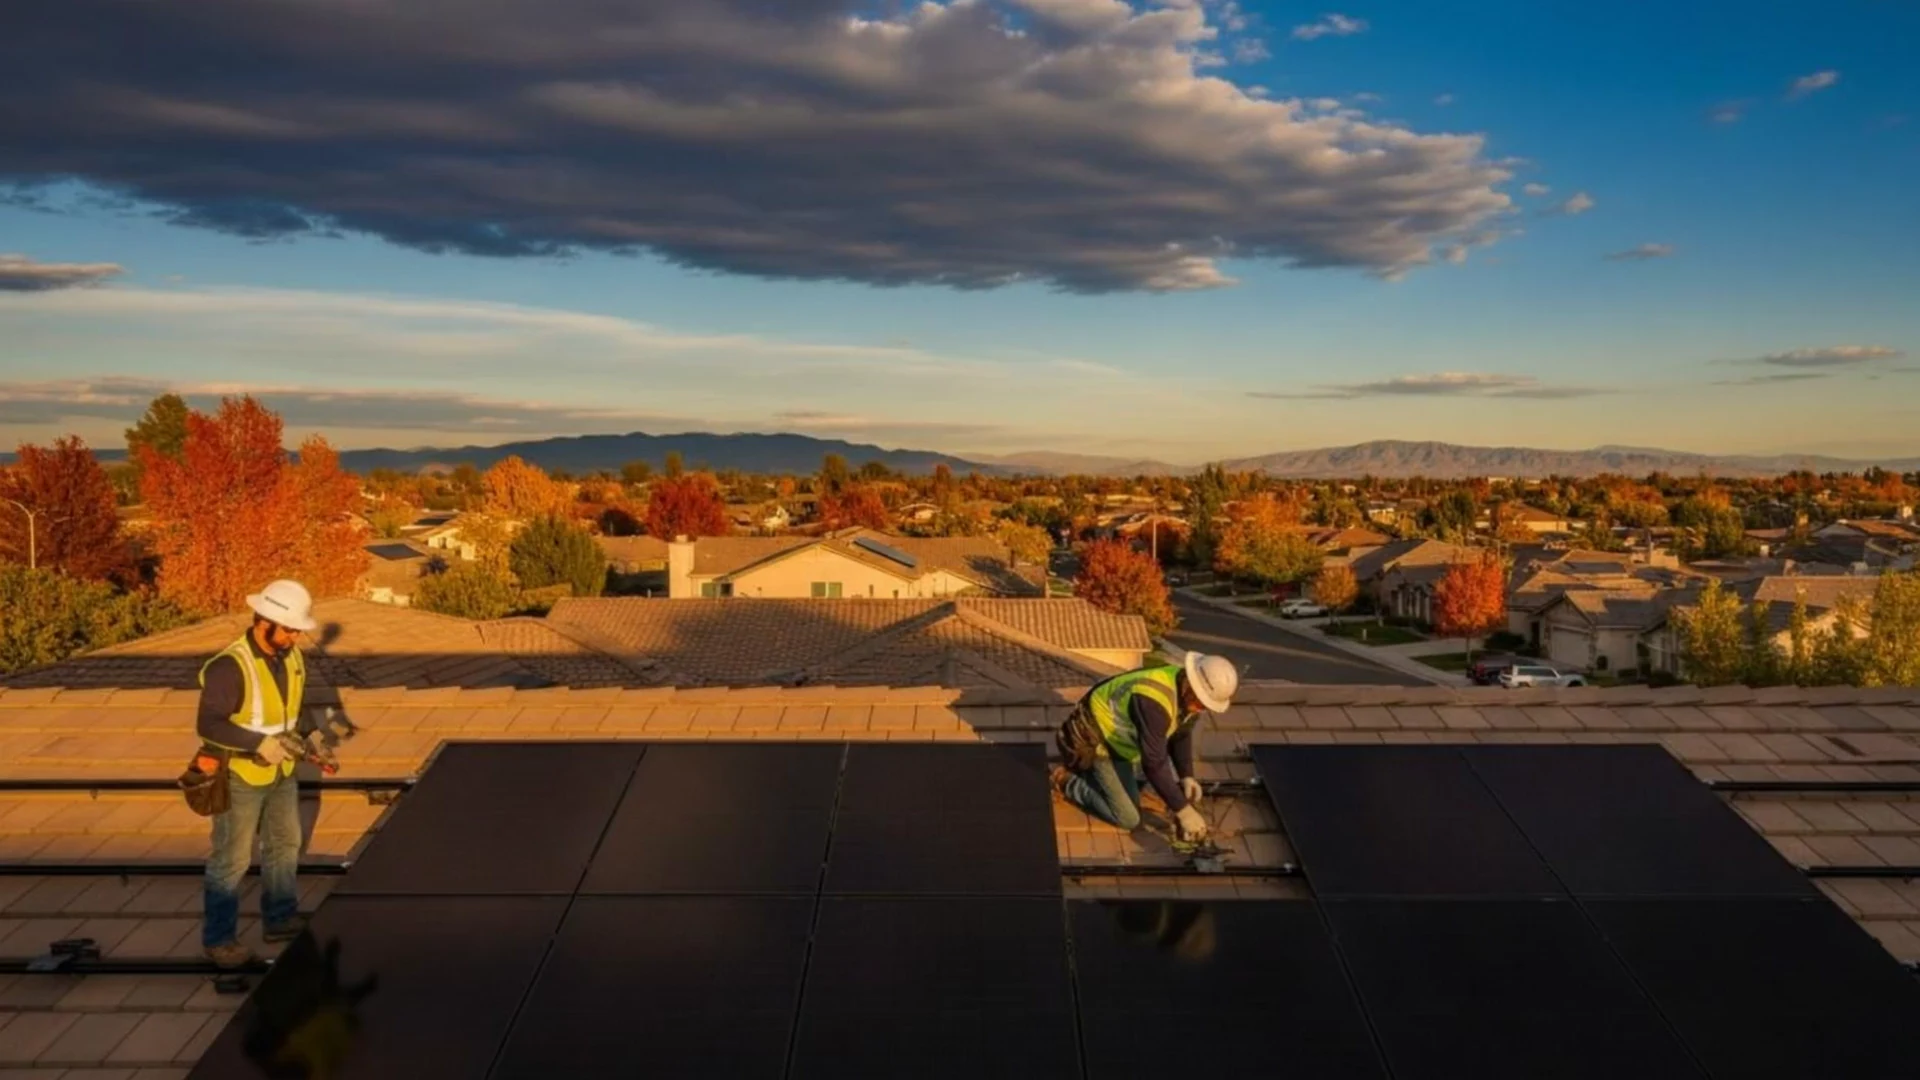
Step 2: Controlled Detachment of Rails and Mounts
This is the step that causes the most roof damage when done wrong.
Our technicians:
- Avoid pulling mounts upward
- Avoid twisting shingles
- Use controlled torque removal
- Lift mounts horizontally to protect sealant
- Loosen flashing gently to prevent rips
We do NOT pry mounts from the roof surface.
We disengage them strategically to preserve both shingles and underlayment.
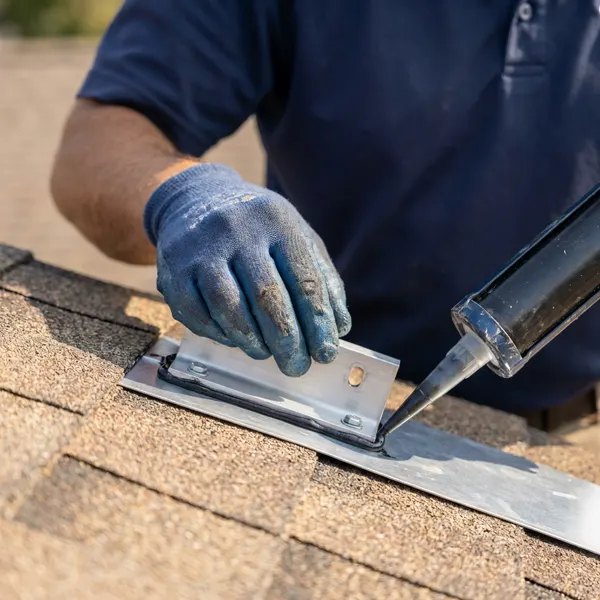
Step 3: Flashing Preservation
Flashing is the watertight metal or membrane under each attachment.
We protect it by:
- Sliding mounts out without bending the metal
- Avoiding heat-gun shortcuts that roofers use
- Keeping water pathways sealed during disconnection
- Replacing compromised flashing with new, code-rated materials
This extra care often determines whether your roof remains leak-free for the next decade.
Flashings are also inspected again during residential solar panel removal & reinstallation
Step 4: Protecting Shingles From Heat Damage During Work
Texas shingles expand and soften under intense heat.
On hot days, stepping incorrectly on the roof can tear or smear them.
To prevent this, we:
- Use soft-soled roof shoes
- Minimize foot traffic over vulnerable areas
- Work during cooler parts of the day when needed
- Place foam pads in high-traffic zones
- Use panel carriers to reduce surface friction
This is one of the biggest differences between a solar technician and a roofer attempting solar work.
Step 5: Moisture-Safe Panel Placement Once Removed
When panels are placed on the ground, we NEVER:
- Lay them on wet grass
- Allow them to sit on humid surfaces
- Stack them without air gaps
We use:
- Non-slip padded stands
- Dry surfaces
- Shade coverings to avoid thermal shock
- Weather-resistant staging zones
Proper storage is also critical when the homeowner has an energy storage (battery) system
that will be temporarily disconnected and reconnected.
Step 6: Seal Every Penetration — Even If Temporary
Even when the roof is only exposed for a few hours, our technicians:
- Seal every mount point
- Protect underlayment
- Use weather-rated materials
- Ensure no water can enter before reinstall
This ensures that storms, humidity, or unexpected rain cannot cause damage.
Later, after the reroof, reinstall, or repair, we also reassess the home’s efficiency—something we often pair with residential energy efficiency evaluations
Why Shingle Protection Matters More After Texas Storms
Storm seasons in Texas are intense.
Hail, wind uplift, and heat expansion weaken shingles—even ones that look “fine” to the homeowner.
During removal, weakened shingles:
- Crack under pressure
- Break around nail lines
- Tear when lifting flashing
- Lose granules faster
This is why the removal technique matters more after storm exposure than during initial installation.
Many homeowners call The Light Group USA after their roof was already damaged by another crew—because leaks appeared months later.
The \#1 Reason Homeowners Choose The Light Group USA for Removal
Simply put:
We protect the roof like it’s our own.
We don’t rush the job.
We don’t use shortcuts.
We don’t hand the system over to random subcontractors.
We don’t allow roofers to touch electrical components.
Everything is done by trained solar technicians with the expertise to preserve every part of your roof, system, wiring, and mounting hardware.
And when reinstalling your system after the reroof, we bring it back better, stronger, and safer than before.
A solar removal handled incorrectly will cost far more than the price of doing the job right.
But when handled by specialists, your roof remains:
- Protected
- Dry
- Structurally sound
- Ready for reinstall
- Safe from leaks
At The Light Group USA, roof and shingle protection is the foundation of our removal process. From Texas heat to seasonal humidity, we know exactly how to keep your home secure while preparing your system for a perfect reinstallation.